Cryptocurrency is addictive because one wishes to embrace it globally. Whether a newbie or already established in digital assets, all will require a crypto wallet at some point. This software allows you to claim your coins and tokens, manage them management and secure them on your terms, and not rely on third parties. Anyone who wants to make cryptocurrency wallet development should be aware of the types of wallets available in the market, how to set them up, and safety measures to consider during construction. We will provide a detailed run-through of the above so you can have a secure and smooth experience.
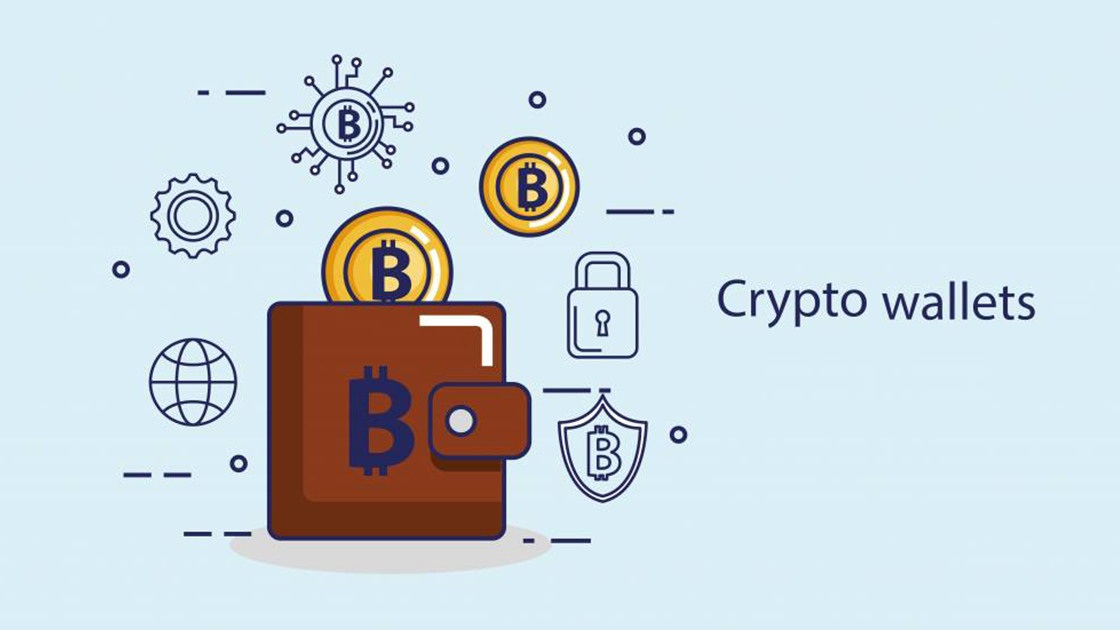
What is a Crypto Wallet?
A crypto wallet can be thought of as a digital purse, as it allows for the storage, receipt, and sending of cryptocurrencies like Bitcoin, Ethereum, or others. At variance from any bank account, the wallet never actually stores money. It stores the keys that will enable you to spend or move your coins on the blockchain.
There are two parts to every wallet:
- Public key: This acts like an account number. You can share it to receive coins.
- Private key: This gives you control over your funds. You must keep it private and safe.
If someone gets access to your private key, they can take your crypto.
Types of Crypto Wallets
Crypto wallets come in several forms. Choosing the right one depends on how you plan to use your crypto and how much security you need.
Hot Wallets
Hot wallets stay connected to the internet. They are easier to use but slightly more exposed to cyber threats.
Mobile Wallets
These are apps you install on your smartphone. They’re great for people who make regular transactions. Examples include Trust Wallet and MetaMask.
Desktop Wallets
These run on your computer and give you full control of your keys. They’re safer than mobile wallets if you use antivirus software and avoid phishing scams.
Web Wallets
These live in your browser. They’re convenient, but you don’t always control the private keys. Most exchanges use web wallets, so if you’re holding funds on Binance or Coinbase, you’re using this kind of wallet.
Cold Wallets
Cold wallets are offline, which makes them much safer from online attacks.
Hardware Wallets
These are physical devices like USB drives. Examples include Ledger Nano S and Trezor. You connect them only when you need to make a transaction.
Paper Wallets
This is a piece of paper that contains your keys. While it’s immune to online threats, it’s also easy to lose or damage. Most people now prefer hardware wallets over paper ones for long-term storage.
Step-by-Step Guide
Here are the 9 practical steps you can follow to create your first crypto wallet:
Step 1: Decide Why You Need a Wallet
Start by identifying your goal. Are you buying crypto for long-term storage, regular trading, or daily spending? Your purpose will guide your wallet choice.
If you’re holding a small amount for occasional use, a mobile wallet may work fine. If you’re managing large sums, go for a hardware wallet. If you’re trading daily, consider a desktop wallet with advanced features.
Step 2: Choose the Right Type of Wallet
Once you know your goal, select the type of wallet that fits.
- For everyday use: Mobile or desktop wallet
- For long-term storage: Hardware wallet or paper wallet
- For browser access: Web wallet with strong security features
Remember, no wallet is perfect for everyone. Each type serves a different purpose. Pick one that fits your routine and level of experience.
Step 3: Pick a Trusted Wallet Provider
Always choose a wallet provider with a strong reputation and track record. Look for:
- Open-source software
- Active development and updates
- Good reviews from real users
- Clear customer support channels
Avoid unknown or newly launched wallets unless you’ve done deep research. If you’re going with a hardware wallet, buy it directly from the official website to avoid tampered devices. For businesses or individuals seeking tailored solutions, custom app development services can help create secure and user-friendly wallet applications that meet specific needs.
Step 4: Download or Purchase the Wallet
Depending on the type you picked, download the software or buy the hardware:
- Mobile/Desktop Wallets: Visit the official website or your app store.
- Web Wallets: Register on the official website and set up your profile.
- Hardware Wallets: Order from the manufacturer and wait for delivery. Never buy secondhand.
Avoid third-party download sites, which may host fake apps.
Step 5: Install the Wallet on Your Device
Follow the instructions to install the wallet. For mobile or desktop wallets, installation usually takes a few minutes. For hardware wallets, you’ll connect the device to your computer or phone and follow the on-screen setup steps.
Keep your software updated to avoid bugs or known vulnerabilities.
Step 6: Set Up Your Wallet
During setup, your wallet will generate a recovery phrase (also called a seed phrase). This phrase is your only way to restore your wallet if you lose access.
Most wallets will ask you to write it down and confirm it. Do not take a screenshot or store it online. Write it on paper and store it in a secure place, such as a locked drawer or safe.
You’ll also need to set a strong password. Use a mix of letters, numbers, and symbols, and don’t reuse passwords from other accounts.
Step 7: Secure Your Recovery Phrase
This step is critical. Your recovery phrase gives access to your funds. If someone else has it, they can take your crypto. Treat it like cash or gold.
Some tips:
- Store it in multiple physical locations (e.g., two secure homes)
- Use a metal backup plate to protect it from fire or water
- Never share it with anyone, not even with wallet support teams
Many wallet hacks happen when users lose or misplace their recovery phrases.
Step 8: Receive Cryptocurrency
Once your wallet is ready, you can start receiving crypto. Here’s how:
- Open your wallet and find your public address.
- Copy the address or scan the QR code.
- Send this to the person or platform sending you funds.
You’ll usually see incoming transactions within a few minutes, depending on the network’s speed.
Make sure you always copy the correct address. One wrong letter or number can cause your funds to be lost forever.
Step 9: Send Cryptocurrency
To send crypto:
- Open your wallet and click “Send.”
- Paste the recipient’s wallet address.
- Enter the amount you want to send.
- Check the network fee and confirm the transaction.
Most wallets let you adjust the transaction fee. Higher fees process faster, especially during peak times.
Always double-check the recipient’s address. Once sent, a transaction cannot be reversed.
Safety Tips for New Wallet Users
Using a crypto wallet safely is just as important as setting it up. Here are some practical tips to help you protect your funds:
1. Never Share Your Private Key or Recovery Phrase
Your private key or recovery phrase gives full access to your funds. Anyone with it can transfer your assets without permission. Don’t store it in your email, cloud drive, or messaging apps.
2. Use Two-Factor Authentication (2FA)
Many wallets and crypto platforms support 2FA. This adds a second layer of protection. Use an app like Google Authenticator instead of SMS-based 2FA.
3. Avoid Public Wi-Fi
Access your wallet only on secure, private networks. Hackers often monitor public Wi-Fi to steal data, including wallet credentials.
4. Keep Software Up to Date
Developers often release updates to patch bugs and improve security. Make it a habit to install updates as soon as they’re available.
5. Start with Small Transactions
If you’re new, test your wallet with a small amount of crypto first. Send and receive small transactions until you feel confident using it.
6. Back Up Your Wallet Properly
Aside from writing down your recovery phrase, back up any configuration files your wallet offers. Some desktop wallets allow you to back up encrypted versions of your keys.
7. Stay Alert to Scams
Phishing emails, fake wallet apps, and support impersonators can all trick you into handing over your keys or passwords. Always check the source before clicking links or downloading files.
8. Use a Separate Wallet for Daily Use
Consider setting up two wallets—one for long-term storage (cold wallet) and one for small, daily transactions (hot wallet). This adds another layer of protection.
Conclusion
A crypto wallet may look technical before he created, but by dividing it into small stages, anyone can do so. If you want to ensure your crypto safely, send money beyond the boundaries, or start trading digital property, a wallet keeps you in control.
By following these 9 simple steps, you can set up your first crypto wallet with confidence. Choose a wallet that meets your needs, back up the recovery phrase and always be careful about fraud. Crypto wallets give you full access to your funds – use that power with care.